BACK
BACK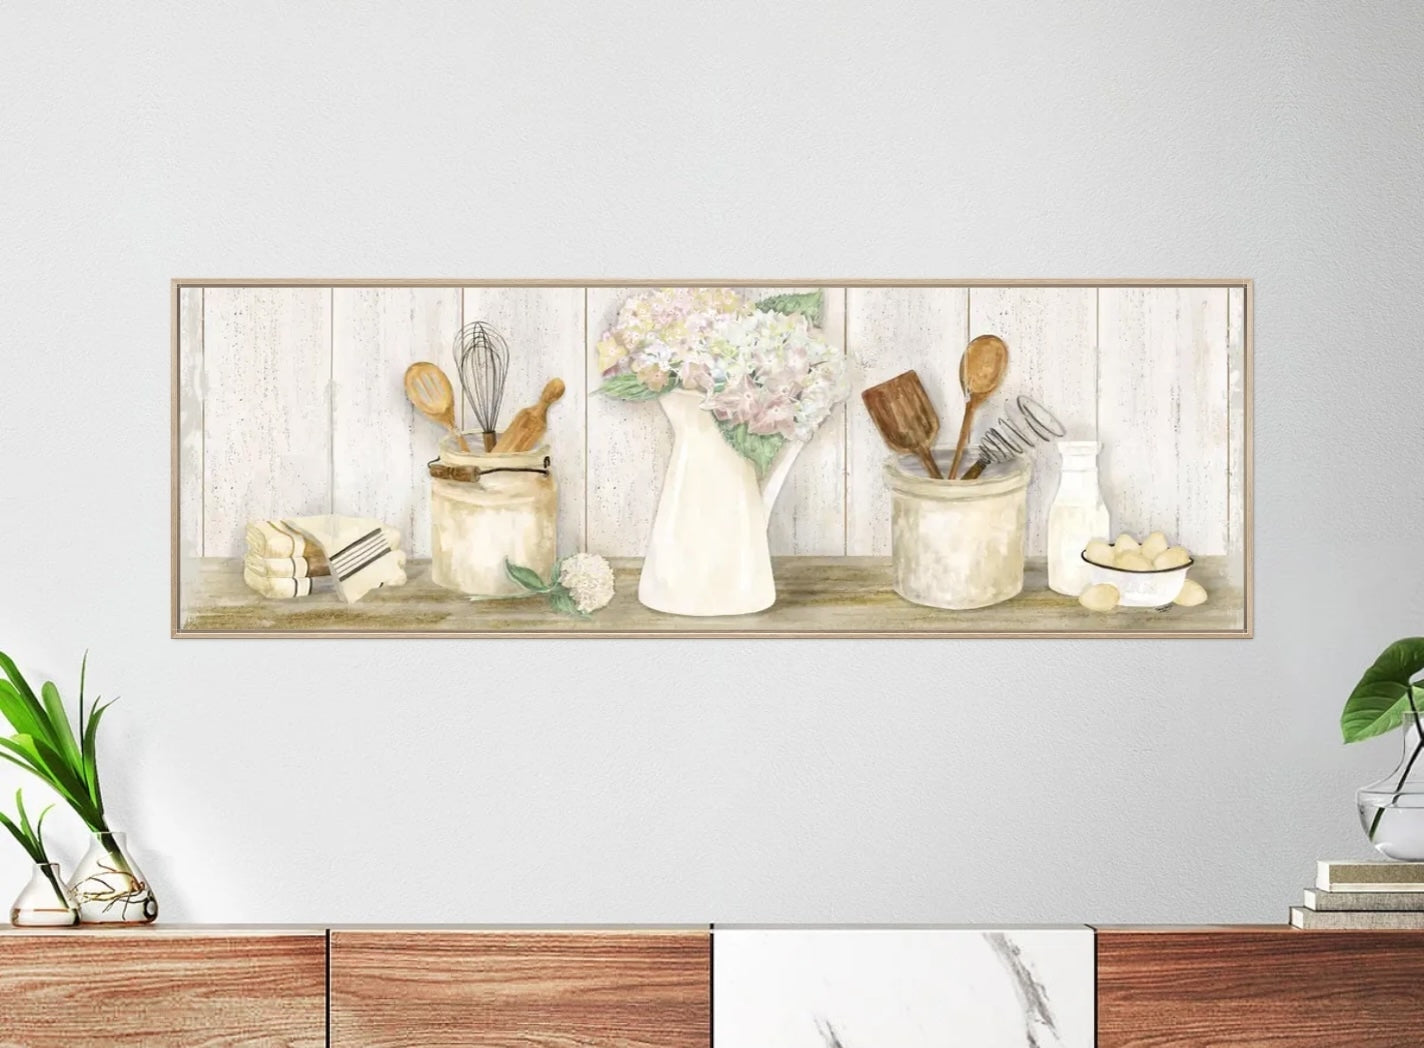

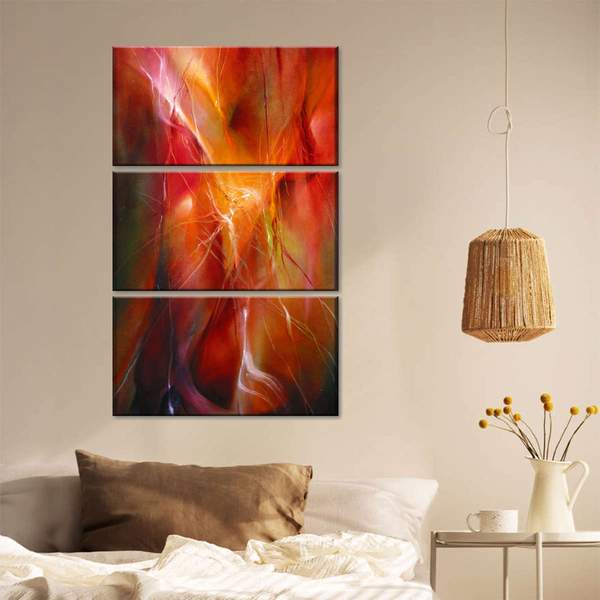
Framed canvases strike the perfect balance between classic and contemporary aesthetics, making them a popular choice for modern homes. The aim is to have the canvas appear as if it is floating within the frame, creating a striking visual effect that is both elegant and modern. This trendy format for wall art has gained widespread popularity, and it's easy to see why. If you want to learn more about canvases in floating frames and how they can enhance your home, check out our detailed article.
If you love this look as much as we do, there are several ways to incorporate it into your space. If you’re a DIY enthusiast and you’re looking to change up your interior, you can choose to frame canvas art you already own. We will guide you through our top canvas-framing DIY ideas and our favorite picks for canvas art. It’s never too late to create your dream interior this year; combining current trends with your personal style will help you design a space you are proud of.
Check out our step-by-step guide on how to frame canvas art:
How To: Build Your Own Canvas Frame and Hang Your Art
If you already have a piece of canvas art that you love, you can always DIY a floating frame yourself.
The first step is to gather your materials:
- Your chosen canvas
- Four wooden strips (1x2 inch for standard frame)
- Wood glue
- Nails
- Miter saw
- Four offset clips, also known as z-brackets
- Eight screws
- Measuring tape
- Hanging hardware (D-rings, wire)
With a pre-purchased frame: If you’re not making your frame from scratch and you’re simply mounting your canvas to a pre-purchased frame, you won’t need the wooden strips, glue, or saw. Skip to Step 5 if you already have your frame!
Step 1: Measure your canvas
Measure the height, width, and depth of your canvas with a measuring tape. Make sure to measure your canvas not once - but twice! Accurate measurements are imperative. Notate each measurement on a piece of paper before cutting your wooden strips.
Step 2: Cut your wooden strips
Prepare four 1x2 inch wooden strips. Before you start cutting, compare the measurements of your canvas to the length of your wooden strips. Two pieces should be slightly longer than the height of the canvas, and two should be slightly longer than the width. Keep in mind that the canvas should fit tightly in the frame. Using a miter saw, cut a 45-degree angle into the end of each strip.
Step 3: Assemble the frame
After you have trimmed the strips and cut each end into a 45-degree angle, lay the pieces out to form your rectangle. Apply wood glue to the joints and make sure that the corners align. Wood glue can dry fast, so make any necessary adjustments as quickly as possible. You can use Titebond or Gorilla Wood Glue for the best results.
Step 4: Secure the joints
Once the glue has dried, strengthen the corners with nails or wood screws for enhanced stability. You can hammer your nails directly into the side of the frame to reinforce the corners, as they won't be seen from the front. Make sure your nails or screws are long enough to reach the adjoining strip.
Step 5: Attach the canvas
Place the canvas face down on your workspace. Ensure that it is centered and lying flat. Position the frame on top of the canvas, also face down. Make sure the frame is aligned correctly with the edges of the canvas. The frame should completely surround the canvas without any gaps. Screw the offset clips into the center of each side, and then screw into your canvas bars to attach it.
Step 6: Add hanging hardware
Measure the height of the frame and mark a point approximately one-third of the way down from the top on both sides of the frame. This is where you will attach the D-rings. With screws, secure your D-rings to the back of the frame.
Step 7: Hang your art!
Last but not least, make sure to use a measuring tape to mark the wall before hanging your art. One of our favorite tricks is to use toothpaste to mark your placement! For more clever tricks, check out our guide on how to hang wall art the right way.
Voila, you’re done!

How To: Assemble Extra-Large Framed Canvas Art
For an even bigger visual impact, opt for an oversized canvas. Our new large wall art uses fabric and an easy DIY frame to create a giant floating framed canvas effect. You can swap out the fabric with different images while keeping the frame, which is more economical than buying a whole new framed canvas.
The assembly process is straightforward and outlined in our guide on how to assemble large wall art. Below is a summary of the steps:
Step 1: Place the corner bracket with screws (A) on top of the smooth bracket (B).
Step 2: Take the pair of corner brackets and slide them into each frame channel.
Step 3: Tighten the screws on the corner you just created with an Allen key.
Step 4: Repeat the on the three remaining corners to finish the frame.
Step 5: Pinch a corner with the silicon strip facing down and inward.
Step 6: Push each corner into the frame, similar to a fitted bedsheet.
Step 7: Press into the center of each side, going around the perimeter.
Step 8: Drill the mounting brackets into the wall with the screws.
Step 9: Finally, screw the bottom of your frame onto the bracket.
Traditional framed canvases can't be made at such a large scale, and if they can, they are usually too heavy to hang on normal household walls. We’ve developed a unique alternative that allows you to order giant, statement-making prints and easily put them together yourself.

Choose a Canvas with a Frame!
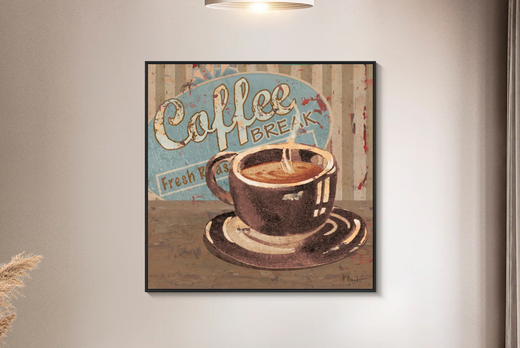
Last but not least, the easiest way to frame canvas art is to purchase a pre-framed canvas print. While it might seem obvious, not everyone realizes that buying a canvas that is already framed can actually save money in the long run. At ElephantStock, we offer thousands of prints that balance quality and affordability without compromise. You can choose from stylish abstract prints or majestic, photorealistic landscapes – all available as framed canvas prints.
Our canvases are made using top-tier giclée printing technology, ensuring rich, vibrant colors. They are wrapped over 1.25” or 1.5” North American poplar wood stretcher bars, sourced from recycled wood, and come ready to hang with a pre-installed sawtooth hanger. The canvas is suspended in a wood frame, creating a unique floating 3D effect, making it the easiest way to add framed canvas art to your home.

The Benefits of Framing Canvas Art
Deciding whether to opt for an unframed or framed canvas print can be challenging, but there's no denying that a floating frame adds a special touch. If your primary goal is to create a space that blends classic and contemporary aesthetics, this is the perfect choice.
Whether you decide to DIY your own framed canvas art or purchase a print that is ready to hang, this stylish look is always a win. Framing your canvas art enhances its visual appeal and adds a sophisticated touch to any room, creating a timeless yet modern look that you'll love for years to come.

RECENT ARTICLES


CATEGORIES

 GET OUR TIPS!
STRAIGHT TO YOUR INBOX