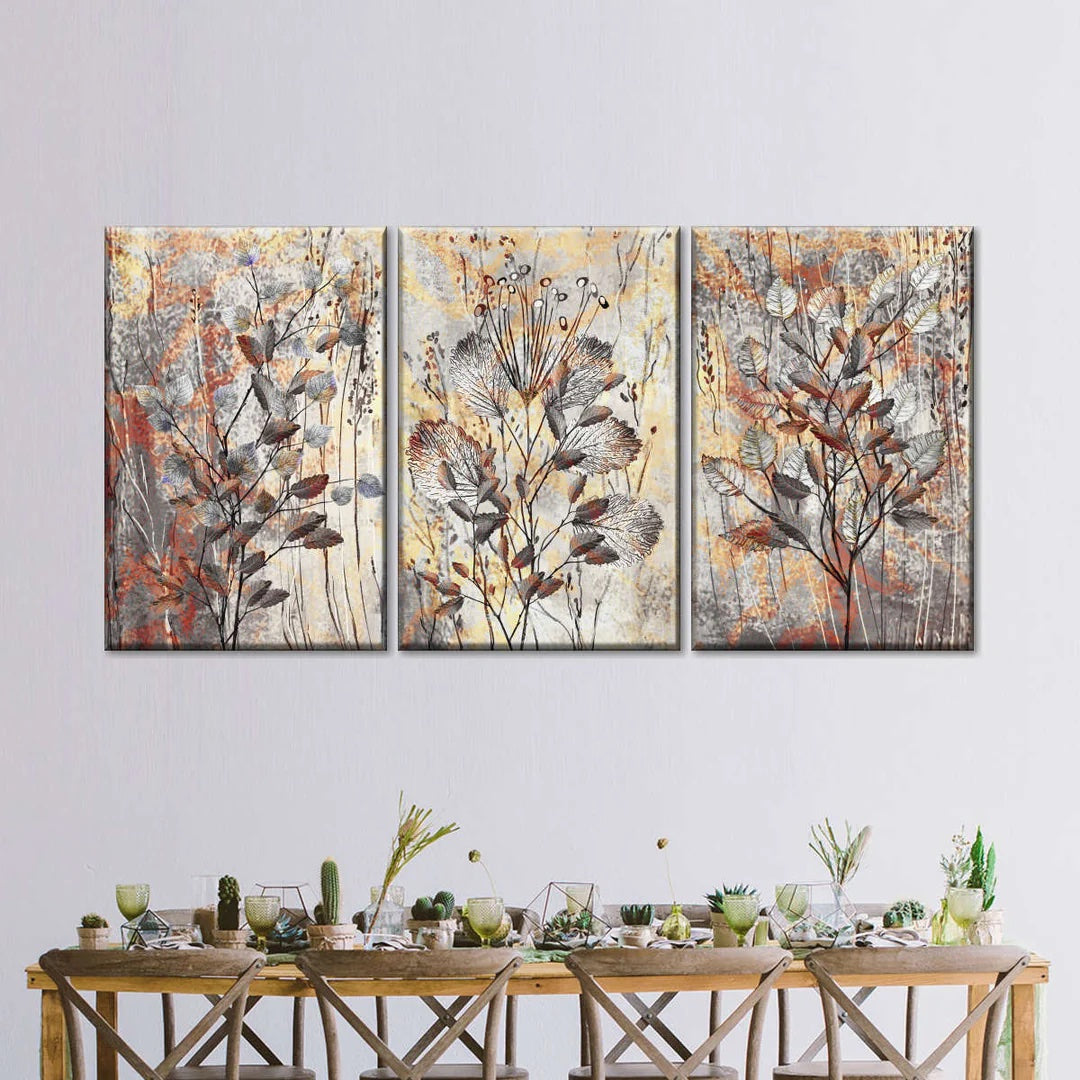
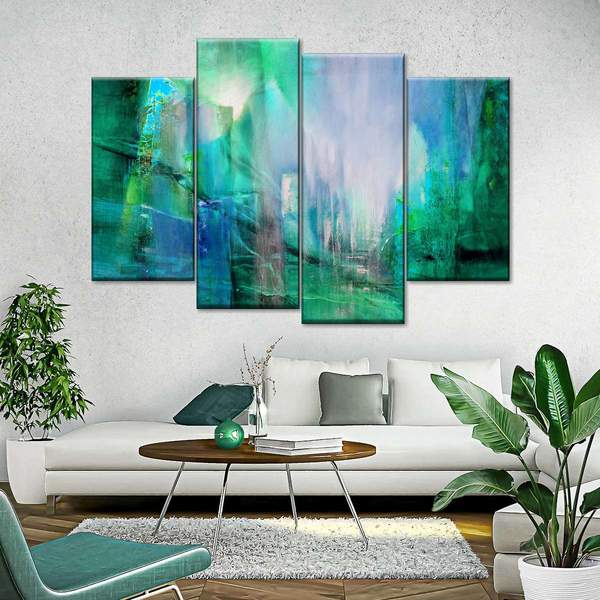
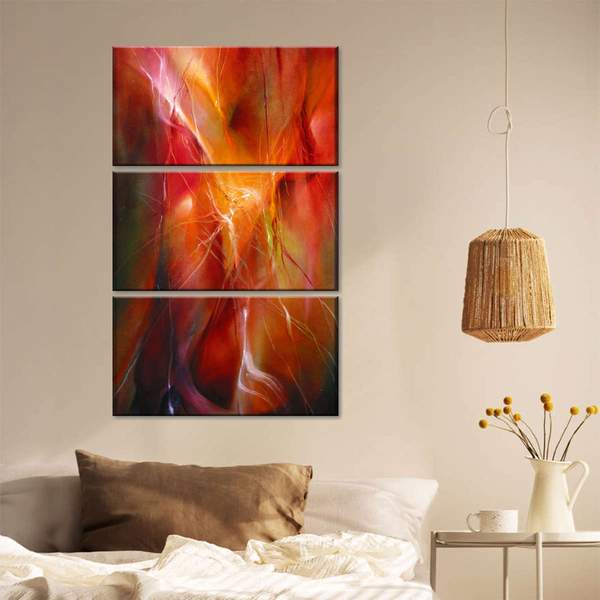
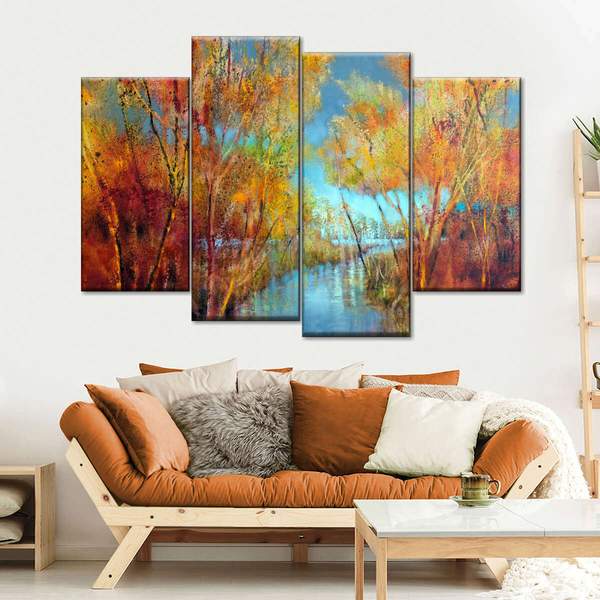
This guide will teach you how to perfectly hang canvas art with multiple panels! Decorating your walls with multi-panel wall art is a great way to add a touch of contemporary elegance to nay room. Whether you’ve chosen a stunning triptych, a duo-panel print, or a six-panel masterpiece, we have you covered! We’re going to walk you through the essential steps to ensure a visually appealing and balanced display. From selecting the right location to clever hanging techniques, you’ll learn everything you need to know to create a striking focal point that wows your guests. It’s time to turn your living space into a captivating gallery.
Step One: Choose the Best Placement
Choosing the best placement for your multi-panel wall art is an essential step in creating a harmonious display. There are several factors to consider when deciding on the ideal placement for your artwork. First and foremost, take into account the size and shape of the wall where you intend to hang your panels. It’s crucial to choose a location that allows the art to complement the dimensions of the wall without overpowering or getting lost in the surrounding space. Additionally, consider the purpose and function of the room where the art will be displayed. For example, if you’re hanging art in a dining area, you may want to create a living and engaging atmosphere. In your bedroom, you might aim for a more serene and relaxing vibe.
You should also take into consideration the exact placement on the wall. Hanging your artwork at eye-level ensures an optimal viewing experience and allows onlookers to fully appreciate the details and beauty of each canvas panel. Your center panel should be between 57’-60’ inches above the ground. If you’re hanging a piece of art above a sofa, leave no more than 6”-8” in between the top of the couch and the bottom of the print.
Discover multi-panel wall art ideas >>
Step Two: Gather Your Tools
There are a few essential tools you’ll need to ensure a secure and well-planned display. First, you’ll need nails or screws, one for each panel, to attach the canvas to the wall. Next, a pencil (or toothpaste!) will come in handy to gently mark the exact spots where you want to place the nails or screws. By applying a small dab of toothpaste to the back of each canvas panel and pressing them against the wall, you can create temporary marks for precise placement. You should also set aside a hammer or a drill and a spirit level ruler. The level will ensure that your canvas panels are perfectly straight and aligned.
Shop our multi-panel wall decor ideas >>
Step Three: Make Your Measurements
Measuring your wall accurately is a crucial step when hanging multi-panel canvas art with precision and balance. To begin, gather measuring tape and a pencil. Start by identifying the area of the wall where you want to hang your canvas panels. Measure the width and heigh of the designated space, taking note of the dimensions. Next, consider the number of panels you have and the desired arrangement. Divide the total width and height of the wall space by the number of panels to determine the approximate size of each panel. It’s essential to leave about 2” of space between panels for an airy but tied-together look. With these measurements in mind, use the pencil to mark the positions where the panels will be hung, ensuring they are evenly spaced and aligned.
Explore multi-panel wall art and more >>
Step Four: Start with the Middle Panel
Starting with the middle panel is of the utmost importance. The middle panel acts as an anchor for the entire arrangement, setting the foundation for a balanced display. By starting with the center piece, you establish the main focal point. This will help guide the placement of the surrounding panels. Starting from the center also ensures that the artwork is symmetrical (if that is your goal) and it creates an instant sense of cohesion. You can also make easier adjustments as you work your way outward. By following this approach, you can easily hang your multi-panel canvas print with precision and confidence. You don’t want your print to be hung too low or too high by starting with an outside panel!
Browse the best multi-panel wall art >>
Step Five: Repeat Moving Outward
As we mentioned, you’ll want to work your way outward after hanging the middle panel on your wall. Begin by hanging a panel on one side of the middle panel, followed by the corresponding panel on the alternate side. By alternating back and forth, you will ensure that the arrangement remains well-balanced and cohesive. As you hang each panel, make sure to use a level so that they are perfectly aligned with their opposing counterpart. Hang your panels slowly and cautiously so you can make minor adjustments as you go. Continuously step back to assess the arrangement and ensure that the spacing is even and visually pleasing.
Choose your favorite multi-panel print >>
Find Your Perfect Piece of Multi-Panel Wall Art
Hanging multi-panel canvas art can transform a plain white wall into an eye-catching gallery-inspired display. By following the steps and tips outlined in this guide, you can confidently create an aesthetically pleasing arrangement that boosts the style of your space. From choosing the best placement, to gathering the right tools, each aspect plays a vital role in achieving a visually appealing outcome. Take your time, assess the composition, and don’t be afraid to lay out your panels on the ground and mark the exact measurements on the wall. With high attention to detail, you can create a beautiful layout with multi-panel canvas art. For more design tips and tricks, visit our inspiration blog.
RECENT ARTICLES
CATEGORIES
STRAIGHT TO YOUR INBOX
